Tutorial
AdvancedMake Your First Gaussian Splat From Your Own Photos
Photograph one display, find camera poses with COLMAP, train a splat with Nerfstudio on an NVIDIA graphics card, view it in a browser and export a .ply file.
Time needed: Not documented by either project; the first training run also compiles GPU code before it starts
Before you start:
- A desktop computer with an NVIDIA graphics card and CUDA, ideally running Linux
- Comfort pasting commands into a terminal
- A camera or phone and one small, well-lit display or booth to photograph
Gaussian Splatting 3d Scan Photography Command Line Open Source
Follow these steps to turn your own photos of one display into a Gaussian splat, look around it in a browser and save it as a .ply file. We have not run these steps ourselves yet; every command below comes from the Nerfstudio and COLMAP documentation as it read on October 7, 2026, with one version pin added in step 8.
New to splats? A splat is a 3D scene trained from ordinary photos, and our introduction to Gaussian splats explains what one is and when it earns its keep. Training needs a dedicated graphics card, so this one cannot run in a browser tab.
The computer comes first
Nerfstudio’s README is blunt: “You must have an NVIDIA video card with CUDA installed on the system.” A computer without one cannot make a splat this way, however fast it is otherwise. The installation guide recommends Linux and calls Windows “less tested and more fragile,” so Windows users should follow that page’s Windows tab instead of the Linux commands below. Nerfstudio, the training software, is developed by Berkeley students and community contributors; COLMAP is the program it calls to work out where each photo was taken.
Photos to a .ply file, one command at a time
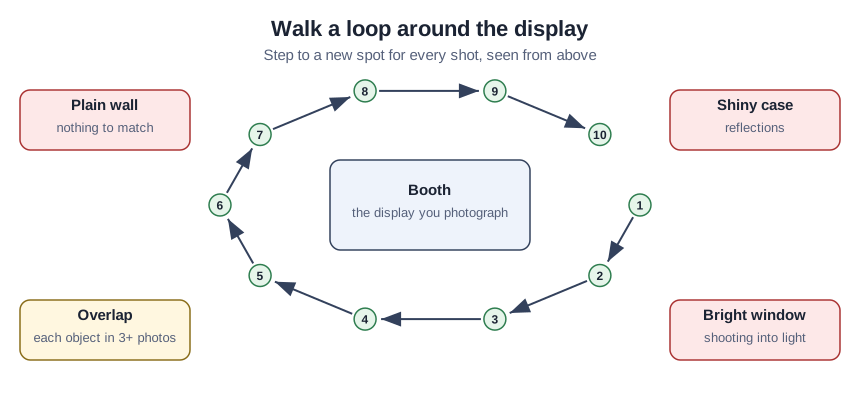
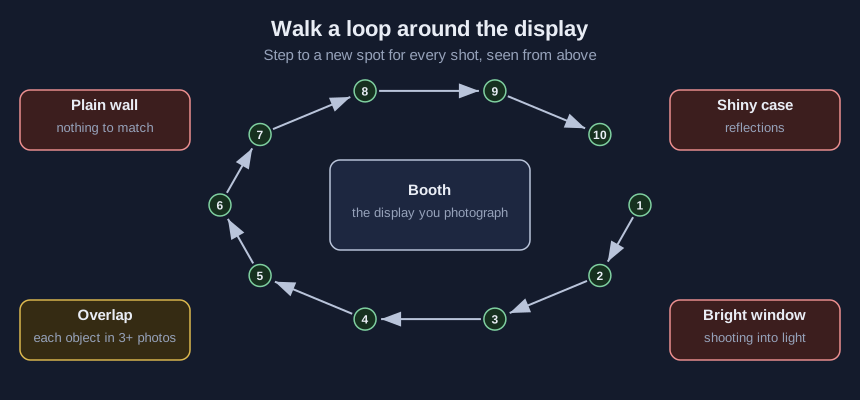
- Photograph the display by walking around it, stepping to a new spot for every shot.
COLMAP’s capture guidelines put it plainly: “Do not take images from the same location by only rotating the camera, e.g., make a few steps after each shot.” The same page asks you to “Make sure that each object is seen in at least 3 images” and to “Capture images at similar illumination conditions.” It warns against texture-less views such as “a white wall or empty desk,” against “pictures through doors/windows,” and against “specularities on shiny surfaces.” Nerfstudio’s custom data guide adds that “COLMAP can be finicky,” so keep every shot sharp and overlapping, though COLMAP notes that “more images are not necessarily better and might lead to a slow reconstruction process.”
- Copy the photos into a folder that holds nothing else.
- Create and activate a separate environment for the install.
conda create --name nerfstudio -y python=3.8
conda activate nerfstudio
python -m pip install --upgrade pip- Install the machine learning library at the version the guide pins.
pip install torch==2.1.2+cu118 torchvision==0.16.2+cu118 --extra-index-url https://download.pytorch.org/whl/cu118- Install the GPU toolkit that Nerfstudio’s extensions are built with.
conda install -c "nvidia/label/cuda-11.8.0" cuda-toolkit- Install the extra GPU bindings the guide lists next.
pip install ninja git+https://github.com/NVlabs/tiny-cuda-nn/#subdirectory=bindings/torch- Install Nerfstudio.
pip install nerfstudio- Install COLMAP, pinned to version 3.8.
conda install -c conda-forge colmap=3.8The pin matches the version the custom data guide’s own check expects: “Check that COLMAP 3.8 with CUDA is successfully installed:”
- Print COLMAP’s help screen to confirm the install.
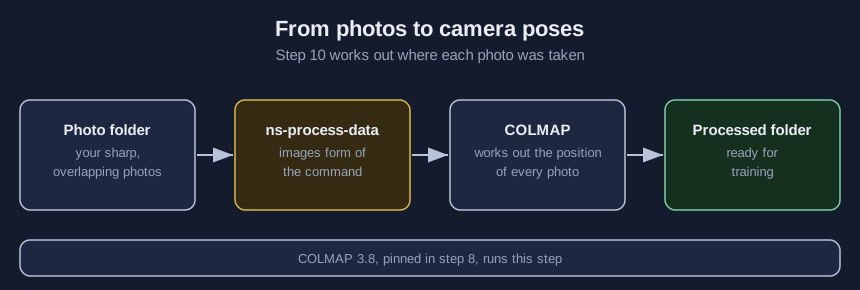
colmap -h- Work out where each photo was taken. The guide explains why: “Specifically we need to know the camera poses for each image.” Use your photo folder as the data path and a new folder name for the output.
ns-process-data images --data {DATA_PATH} --output-dir {PROCESSED_DATA_DIR}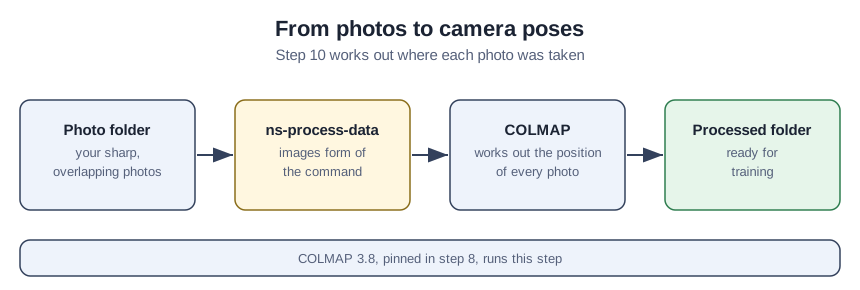
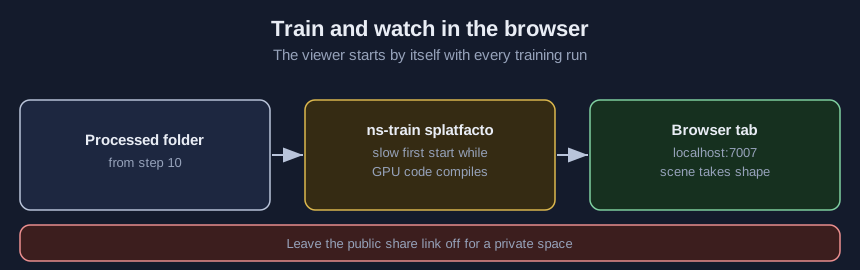
- Train the splat on the processed folder.
ns-train splatfacto --data <data>The Splatfacto page notes that GPU code is compiled the first time training runs, so expect a slow first start. The same page lists a larger variant, splatfacto-big, that needs about 12 GB of graphics card memory; the default needs less.
- Open the viewer address in your browser while training runs. The viewer guide says the viewer starts by itself with every training run, at an address that “should typically look something like http://localhost:7007.” Its optional share link is “publically accessible,” so leave it off for any space that is not open to the public. To reopen a finished run, the README gives this command:
ns-viewer --load-config {outputs/.../config.yml}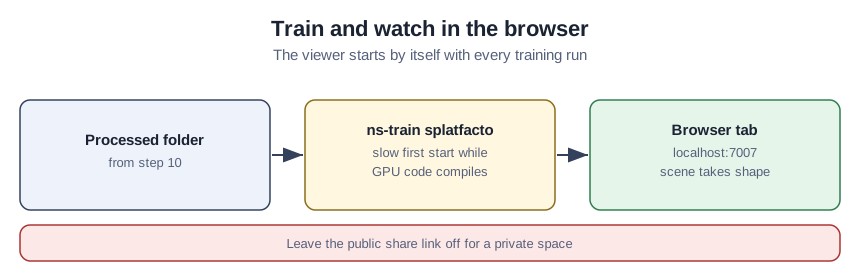
- Export the trained splat, pointing at the same config file.
ns-export gaussian-splat --load-config <config> --output-dir exports/splatThe .ply file lands in exports/splat.
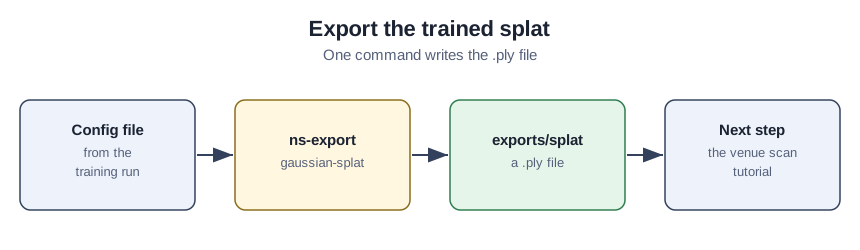
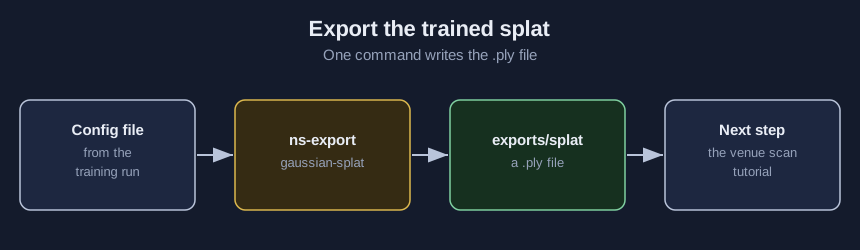
- Take the file to the web. The venue scan tutorial starts from a trained file like this one.
The information booth, filled in
This is a teaching example, not a case study. A staff member photographs the association’s information booth while the hall is still empty, walking a loop around it, and copies the photos into booth-photos. The booth and its folder names are invented, and the three commands from steps 10, 11 and 13 then read:
ns-process-data images --data booth-photos --output-dir booth-processed
ns-train splatfacto --data booth-processed
ns-export gaussian-splat --load-config outputs/.../config.yml --output-dir exports/splat
Check each stage before starting the next
colmap -hreports the version the custom data guide expects.booth-processedexists and is not empty after step 10.- The localhost tab shows the booth while training runs.
exports/splatholds the.plyfile.- Turned to the spot where one photo was taken, the viewer roughly matches that photo. This comparison is our suggestion, not a documented test.
Mistakes that stall a first splat
- Shooting a blank wall or an empty table, which gives COLMAP nothing to match.
- Standing in one place and turning instead of stepping between shots.
- Aiming at glass cases, polished floors or a sunny window.
- Starting on a computer without an NVIDIA card, or on Windows with the Linux commands.
- Switching on the public share link for a private space.
- Dropping the
=3.8pin from the COLMAP install line.
Take the commands to the GPU machine
The first splat starter kit puts every command on this page into one text file, in step order and unchanged, alongside the photo step as a printable shooting checklist and a short README. Add your email on the kit download page and the download link appears.
Sources (6)
- Nerfstudio project: README (GitHub, main branch at commit 50e0e3c, July 29, 2025; developed by Berkeley students and community contributors)
- Nerfstudio documentation: Installation (read October 7, 2026)
- Nerfstudio documentation: Using custom data (read October 7, 2026)
- Nerfstudio documentation: Splatfacto (read October 7, 2026)
- Nerfstudio documentation: Using the viewer (read October 7, 2026)
- COLMAP documentation: Tutorial, capture guidelines for structure from motion (read October 7, 2026)